Printing ID Photos
-
Select the printer, and then click ID Photo.

-
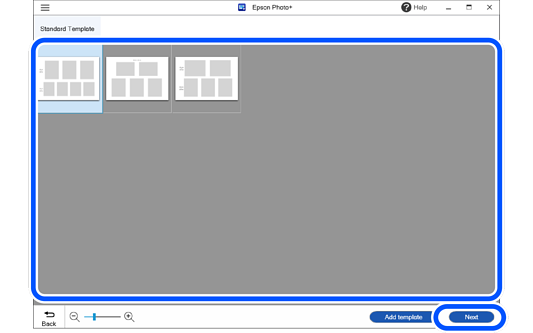
Select a frame, and then click Next.
 Note:
Note:If you cannot find the frame size you need or you want to print multiple copies of a frequently used size simultaneously, you can create and register custom frames for ID photos.
-
Click Add Template and set the Paper Size on the screen that is displayed. Next, click
 to add a photo frame, and then adjust the position, size, and so on of the photo frame.
-
Select a photo frame and click
 to copy the photo frame. You can also click
  to rotate the photo frame 90 degrees clockwise.
-
You can delete the photo frame by selecting a photo frame and clicking
 .
.
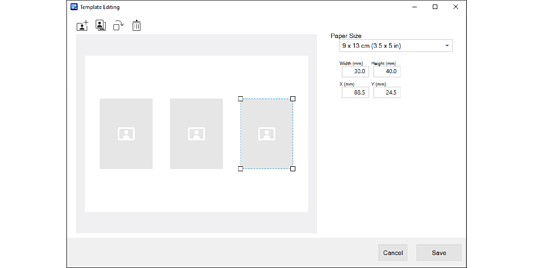
Once you have finished making adjustments, click Save to register the frame. The frame you created is displayed in Original Template.
-
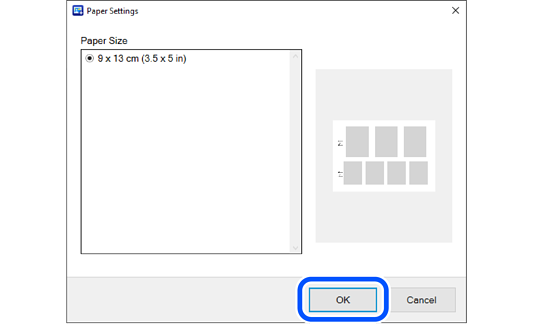
-
Click OK.
-
Select the photo.
-
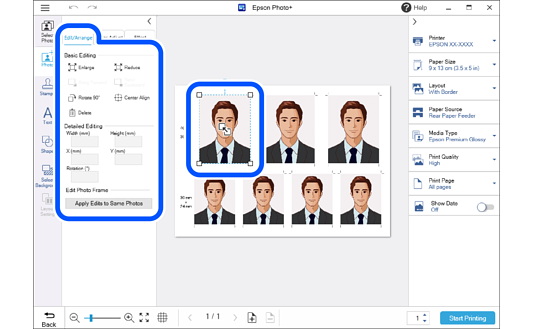
Click the photo to adjust its position, size, and so on.
You can adjust the position by dragging the photo.
Select a photo and then click the Edit/Arrange tab to enlarge, reduce, rotate, and so on.
 Note:
Note:Click Apply Edits to Same Photos on the Edit/Arrange tab to apply adjustments to all instances of the same photos.
-
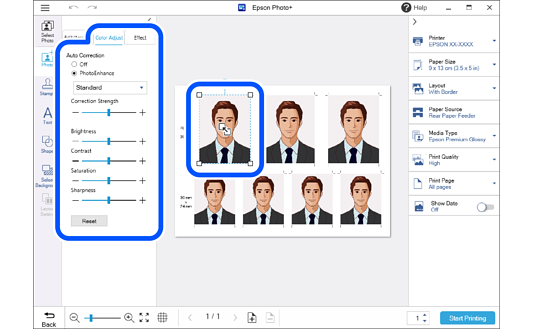
Click the photo to adjust its brightness and so on.
Select a photo and then click the Color Adjust tab to adjust its brightness, contrast, and so on.
Select a photo and then click the Effect tab to adjust the transparency and blurriness of the photo.
See the following for more details.
-
Make print settings, and then click Start Printing.
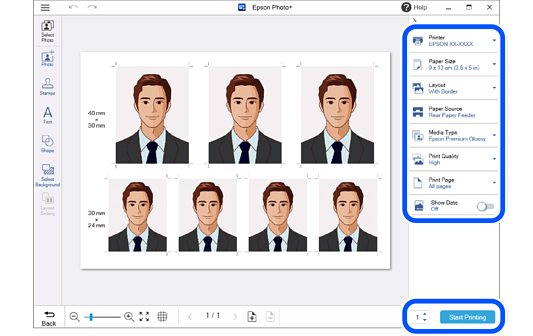 Note:
Note:-
Click
 or
or  at the top of the settings area to hide the settings area.
-
See the "User's Guide" supplied with the printer for details on loading paper and making print settings.
-