Printing ID Cards
This feature is available only for specific models.
-
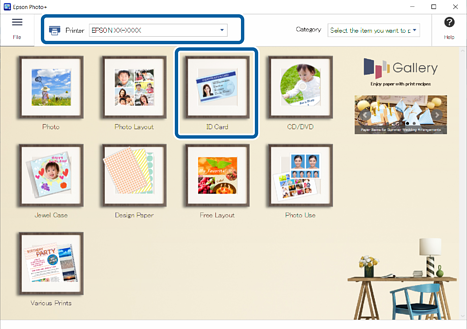
Select the printer, and then click ID Card.
-
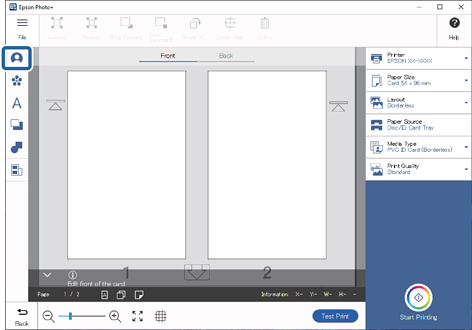
Select the orientation and the page layout, and then click OK.

-
Click
 , select the image, and then click OK.
-
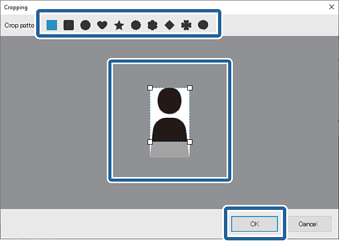
Drag
 to adjust the range and position you want to crop, and then click OK.
-
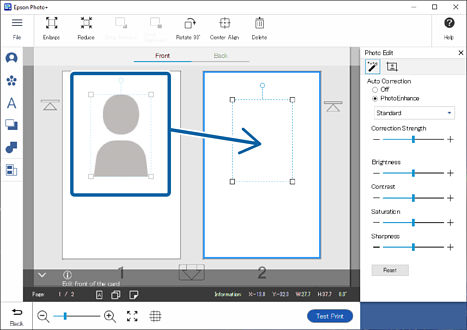
Click the image to adjust its position, size, and so on.
You can adjust the position by dragging the image. You can also use the buttons at the top of the screen to enlarge, reduce, and rotate the image.
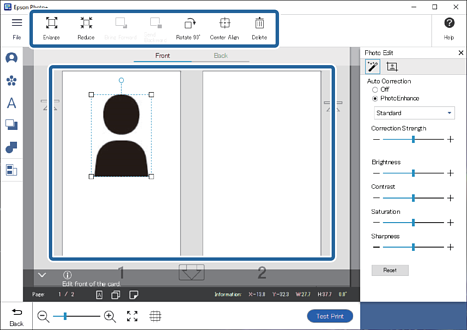
If you want to move the image, click on it, and then drag and drop it onto the other card.
 Note:
Note:-
If you only want to print one ID card, click
 and change the Set position to 1 only or 2 only.
-
 or
or  indicates the direction in which the ID card must be inserted into the printer.
-
-
Click the image to adjust its brightness and so on.
Click
 to adjust the brightness, contrast, and so on.
Click
 to adjust the transparency and blurriness.
See the following for more details.

-
Click
 in Photo Edit, or click the gray area outside the frame to deselect the image.
-
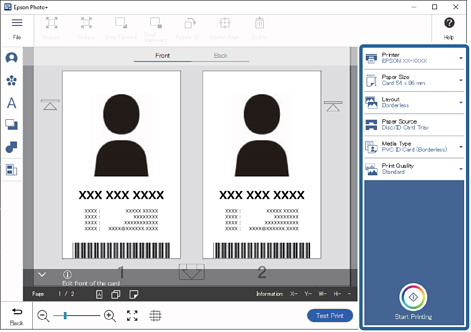
Add stamps, text, and so on.
See the following for more details.
 Note:
Note:When you select 2-Sided as the page layout, you can also edit the back of the card. Select Back at the top of the edit screen, and then add images, text, and so on.
-
Make print settings, and then click Start Printing.
 Note:
Note:-
When you select 2-Sided as the page layout, follow the on-screen instructions to print the front and the back in order.
-
See the "User's Guide" supplied with the printer for details on loading paper and making print settings.
-