/
Printing a Photo Index
Printing a Photo Index
You can easily print a photo index.
-
1Select the printer, and then click Other Photos.
-
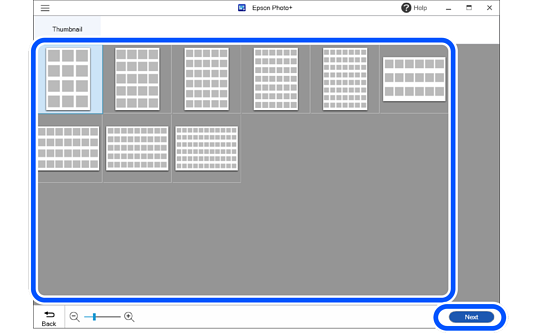
2Select a frame, and then click Next.
-
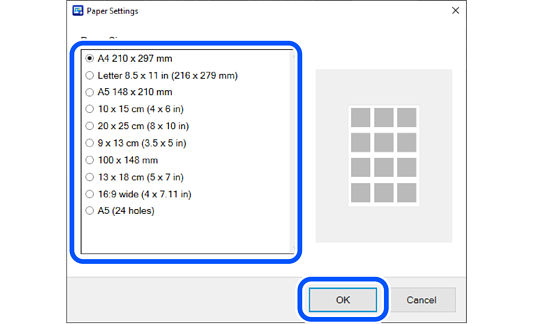
3Select the paper size, and then click OK.
-
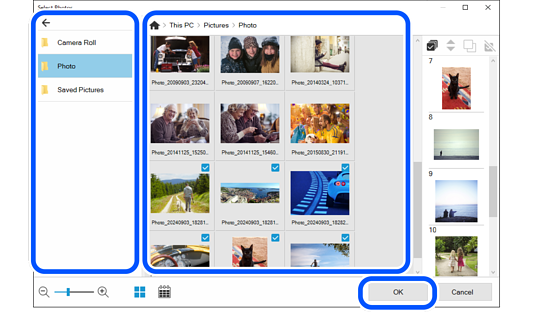
4Select photos, and then click OK.
You can check the selected photos in the photo list on the right.
Note:
-
Click  to rearrange the photos displayed in order of the shooting date.
To return to the list view, click  .
.
-
Framed photos are arranged in the order of the photo list. Use the following buttons to edit the contents of the photo list.
 : Select all the photos in the photo list.
 : Change the order of the photos selected in the photo list.
 : Copy the photos selected in the photo list. You can place the same photo in multiple frames.
 : Deselect the photos selected in the photo list.
-
Click OK to reset the editing page to match the selected photo. If you reselect a photo after it has been edited, the page may be
deleted.
-
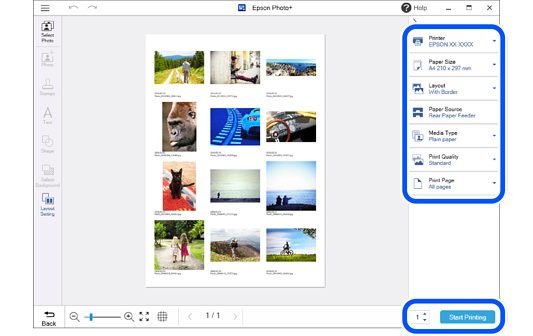
5Make print settings, and then click Start Printing.
Note:
-
To replace photos, click Select Photos and repeat the process from step 5.
-
Click  or
or  at the top of the settings area to hide the settings area.
-
See the "User's Guide" supplied with the printer for details on loading paper and making print settings.