Laying Out and Printing Photos
This section explains how to create the following layout as an example.

-
Select the folder where you saved the photos.

-
Select the photo.

-
Check the selected photo, and then click Select Frame.

-
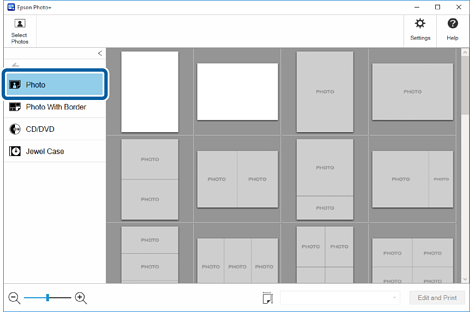
Click Photo.
-
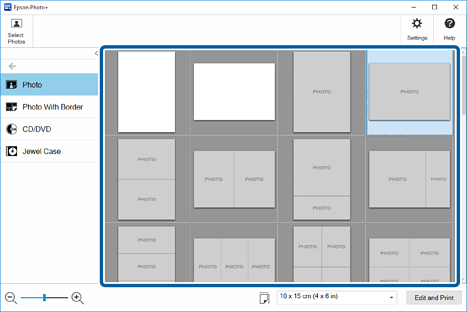
Select the frame.
-
Click Edit and Print.

-
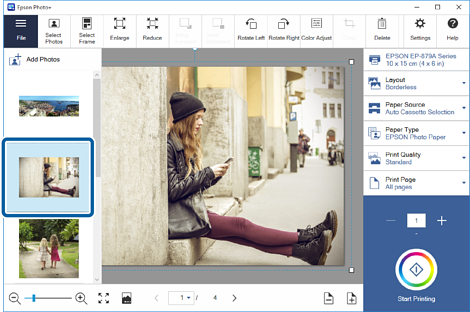
Click the photo that is automatically placed in the frame.

-
Select photos from the photo list on the left, and then replace the photos in the frame.
 Note:
Note:If you click Add Photos, you can replace photos in the frame with photos that are not in the list without returning to the home screen.
-
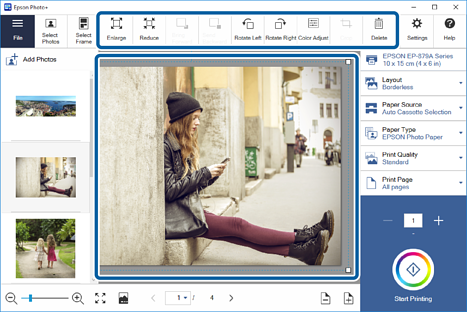
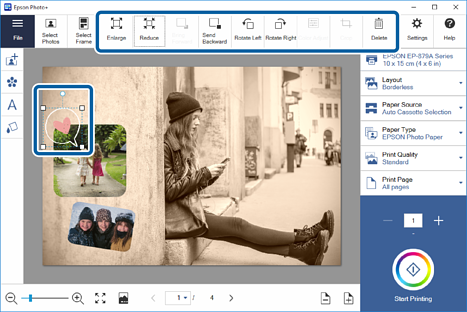
Click the photo in the frame, and then drag to adjust the position.
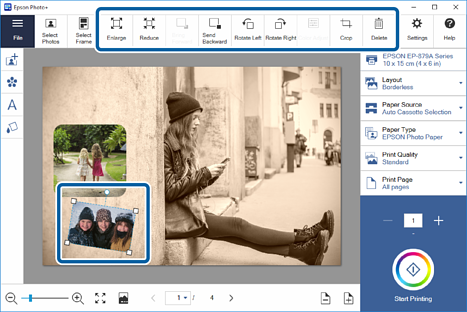
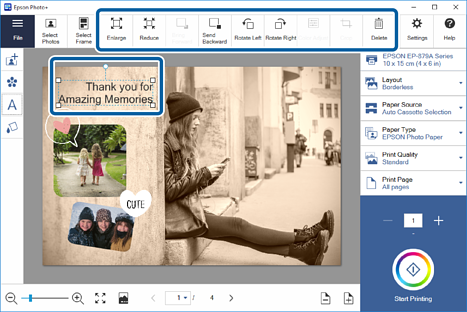
You can also use the buttons at the top of the screen to enlarge, reduce, and rotate photos.
-
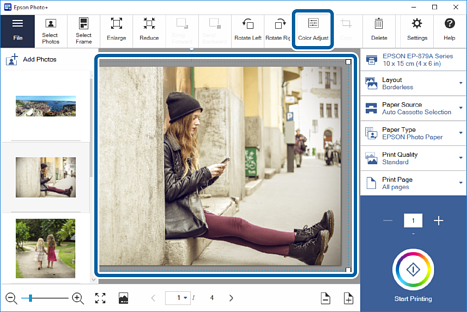
Click the photo in the frame, and then click Color Adjust.
-
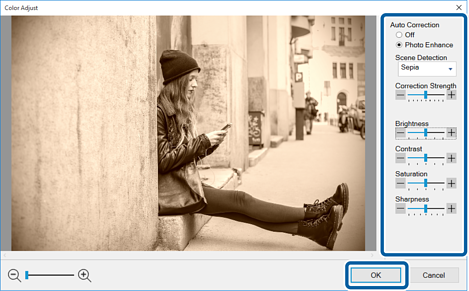
Adjust the amount of correction and brightness, and so on, and then click OK.
-
Click the gray area outside the frame to deselect the photo.
-
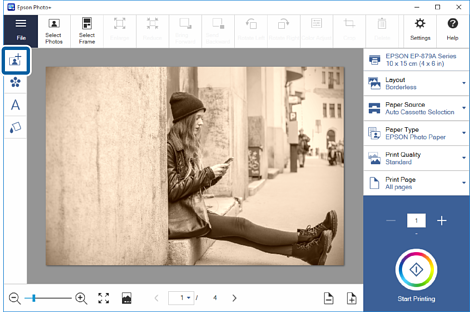
Click
 .
.
-
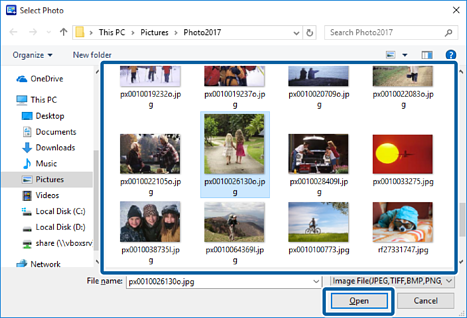
Select the image you want to add, and then click Open.
-
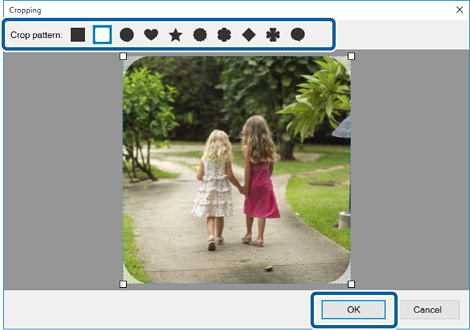
Select Crop pattern, and then click OK.
 Note:
Note:You can adjust the cropping range by dragging the
 (handles) at the four corners of the photo.
-
Click the image you added to adjust the position and size.
Follow the same steps to add other images.
 Note:
Note:-
Double-click the item you added to return to the Crop screen, and then change the cropping pattern.
-
You can adjust the size by dragging the
 (handles) at the four corners of the photo.
-
You can also rotate items by dragging the
 (handle) at the top of the item.
-
-
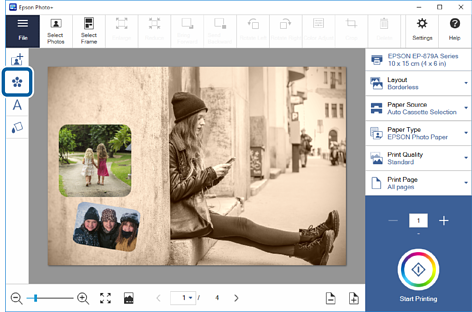
Click
 .
.
-
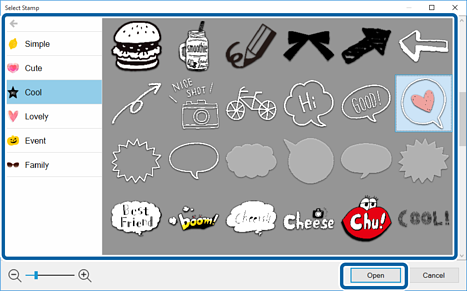
Select the stamp you want to add, and then click Open.
-
Click the stamp you added to adjust the position and size.
Follow the same steps to add other stamps.
 Note:
Note:-
You can adjust the size by dragging the
 (handles) at the four corners of the photo.
-
You can also rotate items by dragging the
 (handle) at the top of the item.
-
-
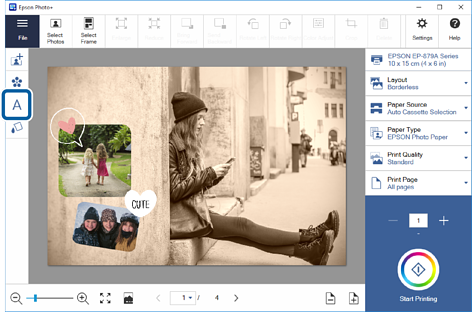
Click
 .
.
-
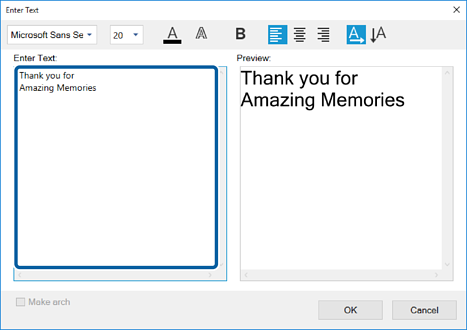
Enter the text in Enter Text.
-
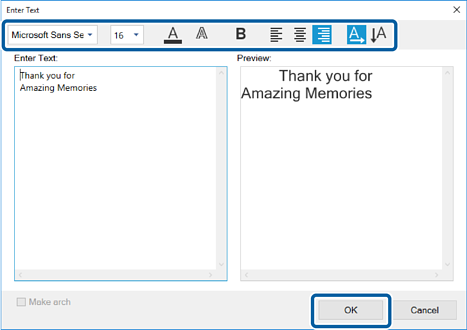
Edit the font, size, color, and so on at the top of the screen, and then click OK.
-
Adjust the position and size of the text you added.
Follow the same steps to add other text.
 Note:
Note:-
Double-click the text you added to return to the Enter Text screen, and then edit the text.
-
You can adjust the size by dragging the
 (handles) at the four corners of the item.
-
You can also rotate items by dragging the
 (handle) at the top of the item.
-
-
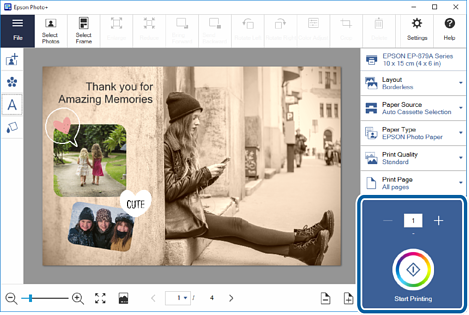
Make print settings.

-
Check the number of copies, and then click Start Printing.
 Note:
Note:See the User's Guide supplied with the printer for details on loading paper into the printer.